
 русский
 Français
 Español
 Deutsch
 عربى

How to Cut Hair with Clippers: A Step-by-Step Guide for a Clean Home Cut
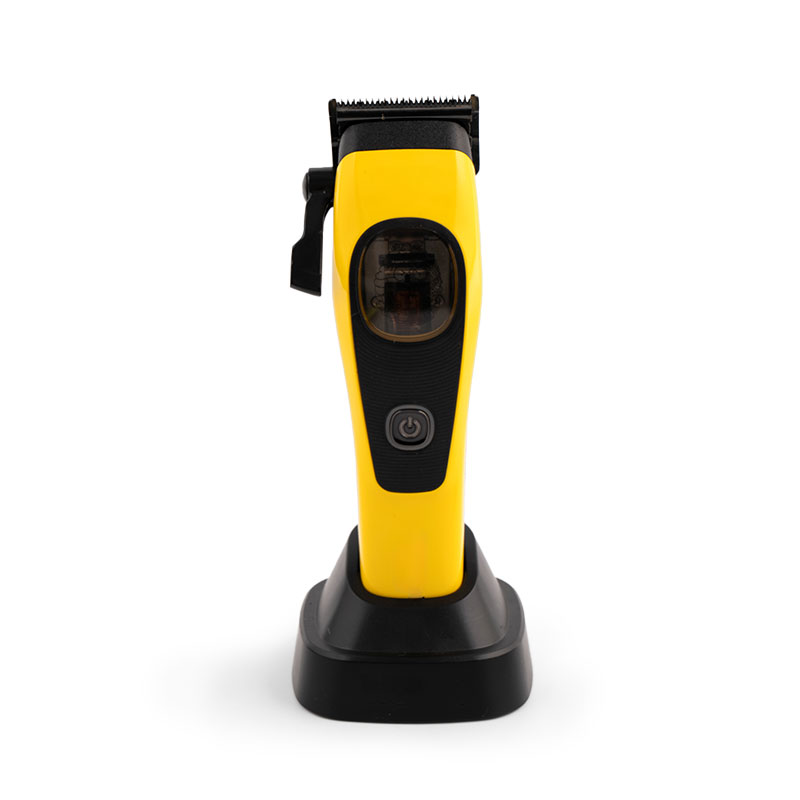
Cutting your own hair with clippers is not a high-risk project once you understand how the guard system works. The most reliable method is simple: use a longer guard on the top, a shorter guard on the sides and back, blend the line between them with a clipper guard or taper lever, and finish the edges with no guard. This guide explains the complete process, from choosing the right clipper to cleaning the blade after the cut.
Quiet Clippers Make a Self-Cut More Controllable
A self-cut requires you to hear when the clipper is taking hair off. If the motor whines loudly, you tend to rely only on the length of the guard and press harder to compensate. That pressure is the most common cause of cornered lines and skin irritation. A quieter clipper allows you to move slowly and listen to the blade contact.
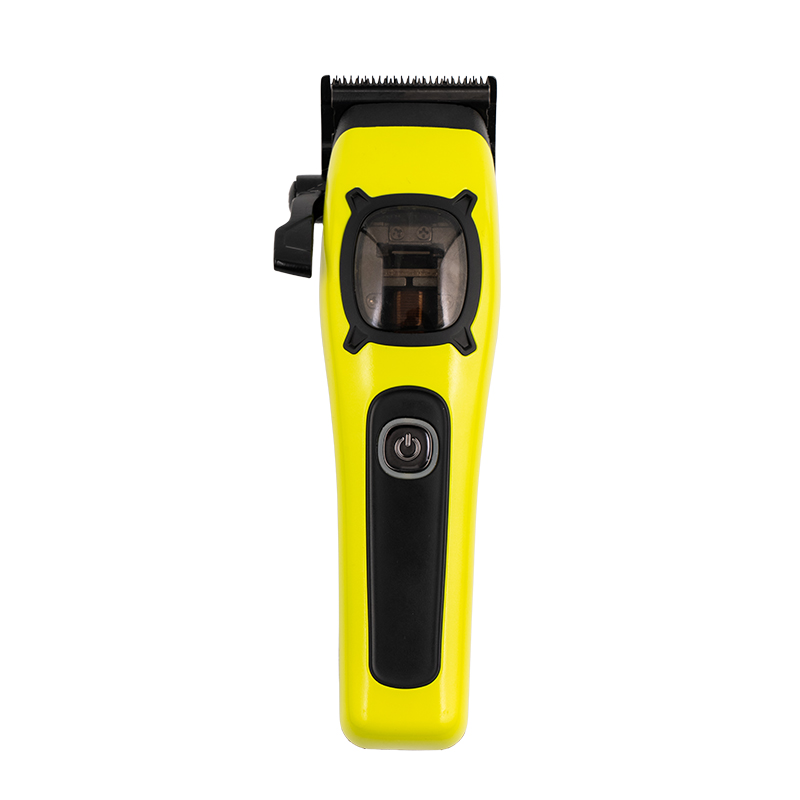
 Quiet Electric Hair Clipper with Interchangeable BladesDesigned low-noise operation helps you hear blade contact while cutting, making it easier to follow trimming progress without relying on pressure. Suited for home and salon use.View Product →
Noise matters for another reason as well. When one ear is facing a mirror and the clipper is behind your head, the sound tells you when the cutting is complete. The hair underneath the guard may be too short to see clearly, but you can hear the blade stop cutting. That audible signal is easier to follow when the motor does not drown it out.
Strong Motors Handle Thick and Dense Hair
If you have fine, thin hair, a standard motor is enough. Once the hair becomes dense, curly or wiry, the clipper needs enough torque to keep the blade moving through the hair without skipping. A clipper that stalls during the first pass will pull the hair instead of cutting it, which is both uncomfortable and inconsistent.
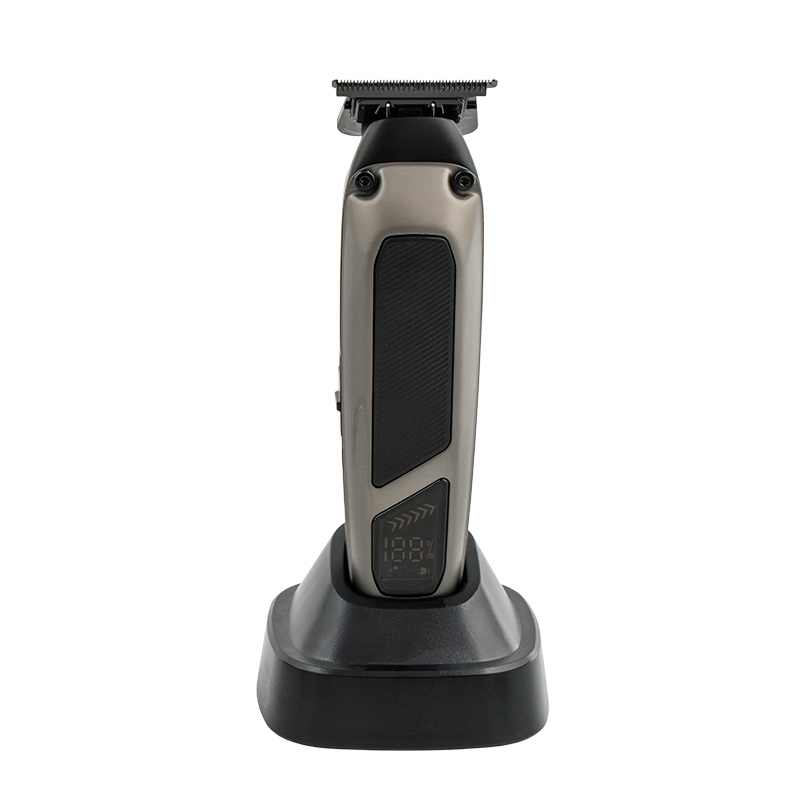
 High-Torque Outer Rotor Motor Hair ClipperBuilt with a powerful outer rotor motor for dense or wiry hair, delivering steady torque that prevents stalling. DLC-coated blades reduce snagging and stay sharp through thick sections.View Product →
The rotor design that drives the blade is what gives heavy-duty models their torque. You notice this on the back of the head, where hair grows downward and is often thicker near the neck. A strong clipper also keeps the heat down because the blade continues moving at full speed through tough sections.
Understand the Guard Numbers Before You Start
Guard numbers are printed on the plastic combs that attach to the clipper blade. They tell you approximately how much hair remains on the head. The exact measurement varies by brand, but the relationship between the numbers is consistent: the higher the number, the longer the hair.
| Guard | Approx. length | Typical use |
|---|---|---|
| No guard | 0.8–1.5 mm | Buzz cuts, skin fades, shaping edges |
| 1 | 3 mm | Tight fade, short crop |
| 2 | 6 mm | Short back and sides |
| 3 | 10 mm | Medium crew cut, short top |
| 4 | 13 mm | Short top, longer sides |
| 6 | 19 mm | Longer clipper cut, transitional length |
| 8 | 25 mm | Leaving maximum length with a clipper |
For a standard home cut, attach the guard you plan to use on the sides and back first. If you start with the longer guard intended for the top, you will have to switch combs halfway through the same area and risk a visible line.
Prepare Your Hair and Work Area
Clippers work best on clean, dry hair. Wet or conditioned hair can clog the base of the guard and make the cut uneven. Wash and blow-dry your hair, then comb it out fully. If the hair has product in it, wash it off before starting.
If you are buying a set for the first time, a self-haircut clipper kit often includes several guards, an ear trimmer and a neck brush, which saves you from buying separate pieces. The steps below assume the same basic equipment, no matter which set you choose.
- Set up two mirrors: one facing the front and one handheld so you can see the back of your head.
- Place your clippers, guards, comb, scissors and a towel on a flat surface within easy reach.
- Attach the shortest guard you plan to use before you begin.
- Brush the hair straight down from the crown to remove tangles and hair spray.
You can also use a cape or clip a towel around your shoulders. Dry loose hair is easier to collect with a towel or a vacuum after the cut.
Cut the Sides and Back First
Starting the cut on the sides and back is correct because it creates the shape that the top will be blended into. The lower guards stay off until the blend line is set.
- With the lower guard attached, place the clipper flat against the scalp just above the ear.
- Move the clipper against the direction of growth, which is upward on the sides.
- Continue around the head to the nape, using the same upward path and overlapping every pass by half a comb width.
- Keep the blade flat against the head. Do not tilt it inward while you cut.
- When you have finished the sides and back, inspect the area with the mirrors before moving to the top.
Do not use a pulling motion. Glide the clipper lightly enough that the guard touches the skin evenly but without pressing down into the scalp. The length of the hair is decided by the guard, not by the amount of pressure you apply.
Use the taper lever for a smoother transition
The taper lever sits on the side of many clippers and changes the blade gap while the guard comb stays in place. When the lever is closed, the blade is at its closest position, leaving slightly shorter hair. Open the lever and it leaves more hair. You can use this to soften the line between the neck and the longer hair above the neck before you switch to a longer guard.
If you want to attempt a fade, a dedicated fade haircut clipper kit gives you the extra comb lengths and a trimmer that make the transition easier to finish. Without a fade kit, you can still approximate a taper with the lever and two adjacent guards.
Blend the sides into the top
After cutting the sides with the lower guard, switch to the next guard up. With the taper lever open, run the clipper over the band where the lower hair meets the upper hair. Then close the lever and run it again. This gradual change of the blade gap creates the blend.
Cut the Top and the Crown
The top receives the longest guard. Comb the hair upward so that it stands away from the scalp, then run the clipper from the front hairline toward the crown. Work in rows that overlap by roughly half a comb width so that you do not miss narrow strips.
- Attach the upper guard intended for the top.
- Comb the hair upward with both hands if necessary.
- Run the clipper against the growth direction from front to back.
- Keep the blade flat, not tilted into the scalp.
- After each row, comb the hair down and check for spots where the clipper dug in too far.
Deal with the crown
The crown sits at a curve, and the direction of hair growth changes around a small whorl. A clipper can cut a bald spot there if it is lifted. A safer method is to use a comb: hold the comb flat against the crown, lift the hair slightly, then run the clipper over the top of the comb. That technique cuts only the hair that protrudes above the comb teeth.
Finish the Hairline and Sideburns
Once the main length is established, remove the guard. Shape the hairline with the clipper blade edge or a separate trimmer. Work slowly, because no guard removes hair much faster than a guard does and any error shows immediately.
- Sideburns: line them up straight with the middle of the ear, or taper them as you prefer.
- Neckline: define a horizontal line at the nape using the trimmer or blade. Sweep the trimmer across the hairline in one pass.
- Ears: press the blade flat against the skin and trim the hair around the top and back of the ear, following the natural curve.
- Sideburns and neck: use scissors for stray hairs rather than trying to dig them out with the clipper.
Take a break after the edges and use two mirrors to inspect the entire back. If you see a shelf line where the hair length changes, use the taper lever or the next guard up to blend it again while the hair is still dry.
Common Mistakes and Quick Fixes
Most clipper problems are caused by choosing too small a guard, pressing too hard, or missing the transition around a curved area. The table below lists the most common failures and what to do about them.
| Symptom | Likely cause | Correction |
|---|---|---|
| Uneven patches on the sides | Clipper tilted or pressed too hard | Re-glide with the same guard, keeping the blade flat |
| Visible line between side and top | Skipped guard sizes | Use the intermediate guard and open the taper lever |
| Bald spot at the crown | Clipper lifted from the scalp | Lift hair with a comb and cut over the comb |
| Hair pulled by the clipper | Dull blade or clogged guard | Clean and oil the blade; replace it if dull |
Keep the Blade Sharp and the Housing Clean
A clipper performs consistently only if it is clean and lubricated. After each use, brush hair out of the blades, wipe the guard combs with a dry cloth, and add a drop of clipper oil to the blades. Do not submerge the clipper in water unless the manufacturer states it is waterproof.
- Use the cleaning brush after every session to remove hair from the teeth.
- Use a cotton swab with rubbing alcohol on the blade if it has been used on several people.
- Oil the blade before each cut if the hair feels hard to comb through.
- Keep the clipper in a dry case, not in a damp bathroom cabinet.
What Professional Means for Home Clipper Buyers
Professional and home models are not separated by how expensive they look. The main differences are the motor duty cycle and the ability to swap blades. A barber runs a clipper for hours, so professional machines use a sturdier motor housing. A home user only needs a few minutes of continuous power, but still benefits from a sharp blade and a replaceable cutting unit.
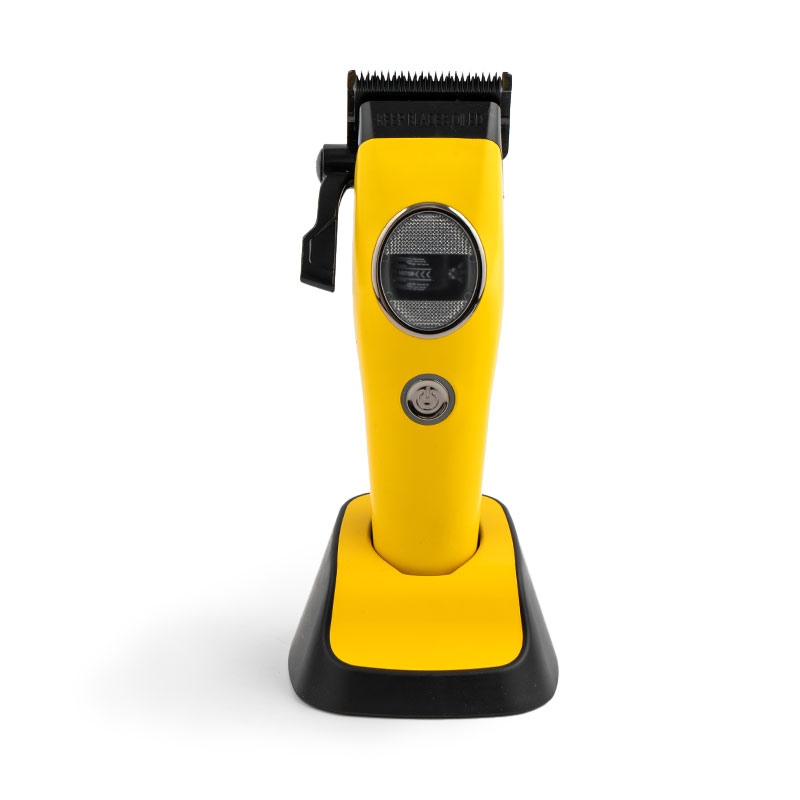
 Home Hair Clipper with Magnetic Levitation MotorOffers strong yet quiet power and a replaceable DLC-coated cutter head, bridging home convenience with pro-level durability. Good choice for regular cutting without overheating.View Product →
For buying guidance, look for a clipper with a motor that does not slow under pressure, a standard-size comb system, and blades that can be exchanged when they lose their edge. The word professional on a label matters less than these concrete specifications.
Putting the Method Together
The formula is short: start with a longer guard on the bottom, use a lower guard on the sides and back, blend through the taper lever and intermediate guards, then cut the top with the longest guard. Finish by removing the guard to shape the edges, and clean the clipper before you store it.
Once you understand guard numbers and hear when the blade stops cutting, you can predict the resulting length instead of relying on uncertain guesses. That is what separates a home haircut that looks deliberate from one that looks like an experiment.
+86-574-62151741
+86-13655842900
laituo@google.com
No. 22 Liufang Road, Yuyao Industrial Park, Ningbo City, China
Copyright © Yuyao Laituo Electric Appliance Co., Ltd. All Rights Reserved
OEM/ODM Hair Removal Tool Epilator Manufacturers
