
 русский
 Français
 Español
 Deutsch
 عربى

How to Sharpen Hair Clippers: A Step-by-Step Guide to Restoring Blades
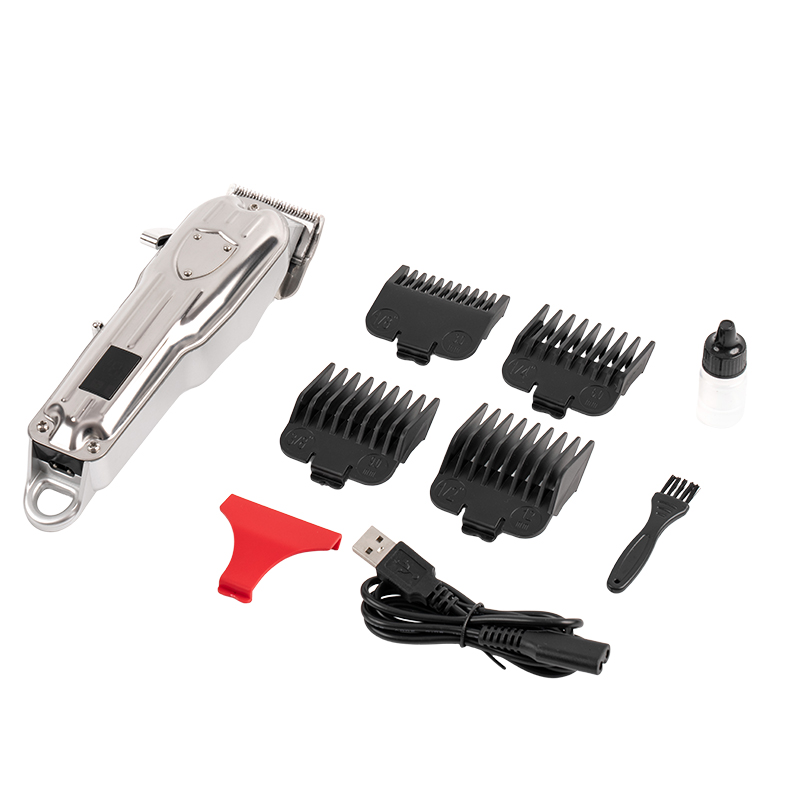
You are halfway through a fade when the clipper stops cutting and starts tugging. The blade head becomes warm, the motor pitch changes, and the line you just ran looks chewed rather than clean. Every clipper owner reaches this point eventually, because blades dull through normal use: hair friction, natural oils, and fine grit slowly wear the mating surfaces that actually do the cutting. The good news is that sharpening hair clippers at home is a practical skill. You need a flat sharpening stone, a screwdriver, clipper oil, and twenty minutes. The governing principle is simple: you restore the flat contact surface on both blades, and the cutting edge returns with it. The following guide covers when to sharpen, the exact procedure, the alternative methods that genuinely work, the mistakes that cause more damage, and the habits that keep your blades away from the stone in the first place.
Signs That Your Clipper Blades Need Sharpening
Pulling is the first and most reliable sign. A sharp blade slides through hair; a dull blade grabs the strand, tugs, and then cuts with effort. The second sign is an uneven cutting track, visible as longer stripes of hair left behind after a pass. The third is heat. A dull blade creates extra friction, and the metal becomes noticeably warm or even hot after a short run. The fourth is noise: the motor sounds strained, and the clipper vibrates more than usual. Last, you may find yourself going over the same patch of hair repeatedly, which stresses the motor and shortens battery runtime without producing a cleaner cut.
How often should you sharpen? That depends on how much the clipper works. A barber who uses one clipper all day can expect to touch up the blades every two to three months. A home user who cuts hair weekly can often go a year or two before dullness becomes obvious. The construction of the blade set also matters. Precision-ground edges hold their tolerance longer, which is one reason why blade quality shows up quickly in maintenance intervals. If you catch dullness early, you remove less metal from the blades each time, and the set lasts considerably longer.
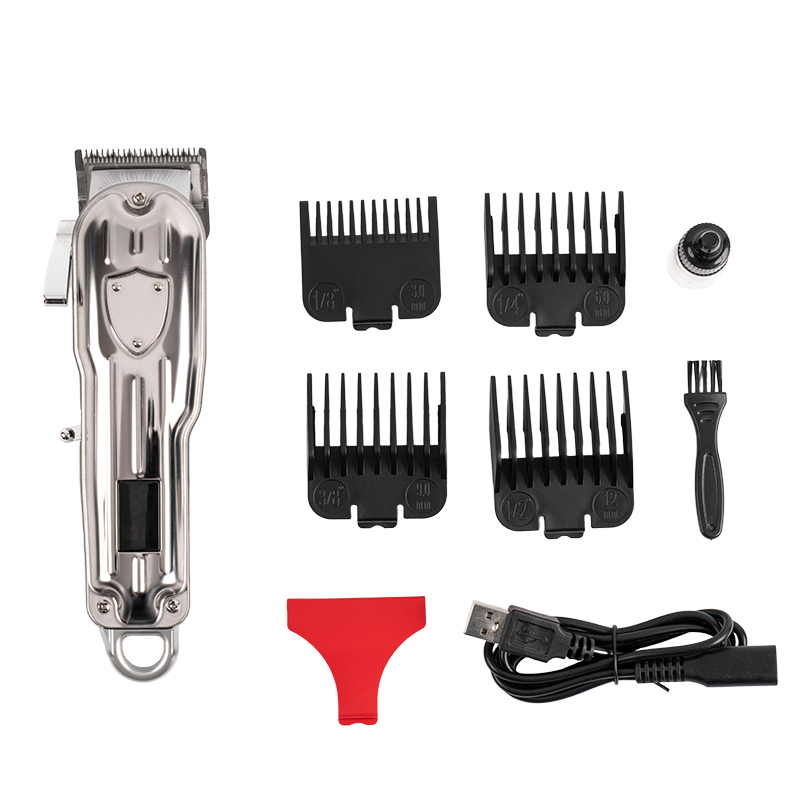 LT-1258 Precision-Blade Hair Clipper for Durable CuttingThis clipper uses precision-ground blades that hold tolerances longer, making it a practical choice for users who want to extend sharpening intervals and reduce metal removal during maintenance.View Product →
How Hair Clipper Blades Work Before You Touch a Stone
A hair clipper blade set consists of two parts: the stationary comb blade at the bottom and the reciprocating cutter blade on top. The top blade slides side to side across the comb at high speed. Both blades carry teeth, and the cutting action happens where the top blade's teeth cross the comb blade's teeth. Hair enters the spaces between the teeth, becomes trapped, and is cut by the scissoring intersection. This is why you never sharpen the visible tooth edges themselves. The surface that matters for sharpening is the flat back of each blade, the side that rides against the other blade. When this mating surface wears unevenly, the teeth can no longer shear hair cleanly.
Most clipper blades are intentionally not perfectly flat. They are slightly concave in the middle, a design that reduces friction and holds a thin film of oil between the two blades. That is why you must press the blade evenly onto the sharpening stone and let the stone dress the raised contact lands. If you rock the blade while sharpening, you round those lands, and the blade will never cut properly again.
Blade material changes the sharpening experience. Standard steel blades are the most common and can be resharpened many times. Stainless steel resists rust but is harder to cut on a stone. Ceramic blades hold an edge much longer but cannot be sharpened at home at all; once they dull, they are replaced. If you are unsure what your clipper uses, inspect the blade marking or the manufacturer's documentation.
What You Need to Sharpen Hair Clippers
Assemble the essentials before you start: a flat sharpening stone of about 4000 grit for ordinary maintenance and 8000 grit for a finishing pass, a small Phillips screwdriver that fits the blade screws, a stiff cleaning brush, isopropyl alcohol or clipper degreaser, a soft cloth, and clipper oil for the final step. If your stone is a water stone, keep a spray bottle of water close; if it is an oil stone, use honing oil.
For simpler touch-ups, fine-grit sandpaper at 1500 to 3000 grit, taped to a perfectly flat piece of glass, works as a disposable stone. Aluminum foil is often mentioned as a home trick, but it only burnishes the edge; treat it as a temporary measure, not a real sharpening method. The table below compares the main options so you can choose by situation.
| Method | Grit / Material | Best For | Important Notes |
|---|---|---|---|
| Sharpening stone | 4000-8000 grit | Regular maintenance and full sharpening | Keeps the blade flat; use water or honing oil |
| Sandpaper on glass | 1500-3000 grit | Touch-ups when a stone is not available | Replace the paper often; keep the surface clean |
| Aluminum foil | None | Emergency de-burring | Does not remove metal; restores bite for a short time |
| Professional service | Specialized grinding equipment | Hollow-ground blades or heavy wear | Cost-effective for barbers who sharpen many sets |
Whichever method you pick, clean the blades first. Hair oil and dirt embedded in the blade will scratch the stone and leave a rougher surface that dulls quickly in normal use.
Step-by-Step: Sharpening Hair Clippers with a Stone
The stone method is the standard because it gives you full control of flatness. Work through these steps in order.
Step 1: Remove the Blade Set
Unplug the clipper. Place it on a workbench and push the blade set forward and upward to release it from the retaining pins, then remove the screws that hold the two blades together. Keep the screws in a small dish; they are needed for reassembly.
Step 2: Clean Both Blades
Brush away loose hair and dust, then soak the blades in isopropyl alcohol for a few minutes. Let them air dry completely. Do not soak the clipper body or the motor housing.
Step 3: Prepare the Stone
Make sure the stone is clean, flat, and sitting on a damp towel so it does not slide. Add water or honing oil according to the stone type. The lubrication carries away metal debris and prevents the blade from overheating.
Step 4: Sharpen the Top Cutter Blade
Hold the cutter blade by its sides with the teeth pointing away from you. Lay the flat back of the blade on the stone and slide it back and forth with light, even pressure. Ten to fifteen strokes are usually enough for a noticeably dull blade. Keep the blade perfectly flat; do not lift or tilt it during the stroke.
Step 5: Sharpen the Bottom Comb Blade
Cover the comb teeth with masking tape to protect them from the stone. Repeat the same sliding stroke on the flat mating surface of the comb blade. Use gentle pressure, because the comb blade's role is to support hair against the cutter rather than to cut on its own.
Step 6: Remove the Burr
Sharpening leaves a tiny burr on the edge. Run the flat surface once or twice over a fine 8000-grit stone or a leather strop to remove it. A leftover burr dulls quickly in use and causes the pulling sensation you were trying to eliminate.
Step 7: Clean and Oil
Wipe off all metal filings, rinse both blades with alcohol, and dry them. Apply one or two drops of clipper oil to the teeth and the mating surfaces. Work the blades together a few times by hand so the oil spreads evenly.
Step 8: Reassemble and Test
Fit the blades back onto the clipper, align the teeth, and tighten the screws. Tighten firmly but not to the point of distortion; an overtightened blade set flexes and creates gaps that ruin the cut. Switch the clipper on for thirty seconds to distribute the oil, then test on a small patch of hair.
Alternative Sharpening Methods Worth Knowing
Fine-grit sandpaper on a perfectly flat surface is the closest substitute for a stone. Tape 1500-grit paper to a piece of glass, keep the surface free of debris, and use the same flat-stroke technique described above. Change the paper frequently, because loaded grit stops cutting efficiently.
Aluminum foil is the most popular household shortcut. Folding a strip into several layers and running the clipper through it slightly realigns a rolled edge, which is why the clipper feels sharper for a short time. It removes no metal, so it cannot fix a genuinely dull blade. Use it only as a stopgap before you do the proper sharpening.
Professional sharpening services are worth the money for hollow-ground blades, heavily worn sets, or anyone who maintains many clippers at once. These services grind the mating surfaces truly flat and can extend the life of an expensive blade set. If a set needs professional attention repeatedly, the blades are nearing the end of their service life.
Common Mistakes That Ruin Clipper Blades
Most blade damage during sharpening comes from a few repeated errors:
- Sharpening the tooth face instead of the flat back. It feels logical, but it rounds the cutting edge and destroys the blade geometry.
- Using a stone that is too coarse. A 1000-grit stone removes metal aggressively and leaves a rough surface that dulls fast and runs hot.
- Rocking the blade during the stroke. Uneven pressure rounds the contact lands, so the two blades no longer sit flush against each other.
- Skipping the cleaning step. Dirt and old oil act as an abrasive compound that scratches both the stone and the blade.
- Overtightening the screws on reassembly. The blade flexes, creates gaps, and the clipper begins to pull again on the next use.
- Forgetting to oil the finished blade. Even a freshly sharpened blade will tug and overheat if it runs dry.
- Sharpening too frequently. If the blade still cuts cleanly, leave it alone. Each sharpening removes metal and shortens the life of the set.
When to Replace Instead of Sharpen
Sharpening consumes metal. Each session removes a small amount of material, and eventually the two blades can no longer close tightly enough to cut hair cleanly. Replace the set when you see chipped or broken teeth, rust pitting on the mating surfaces, visible gaps between the blades, or continued pulling immediately after a careful sharpening. Rounded comb teeth are another clear signal: they have lost the flat reference surface that the cutter needs.
How often replacement is needed depends on usage. Professionals who sharpen monthly may change blade sets every six to twelve months. Home users often get several years from a set if they maintain it. If the clipper body itself is aging, or the motor has lost power, it is often more practical to replace the whole clipper with a model that suits both home and professional use, rather than to keep investing in new blades for an old frame.
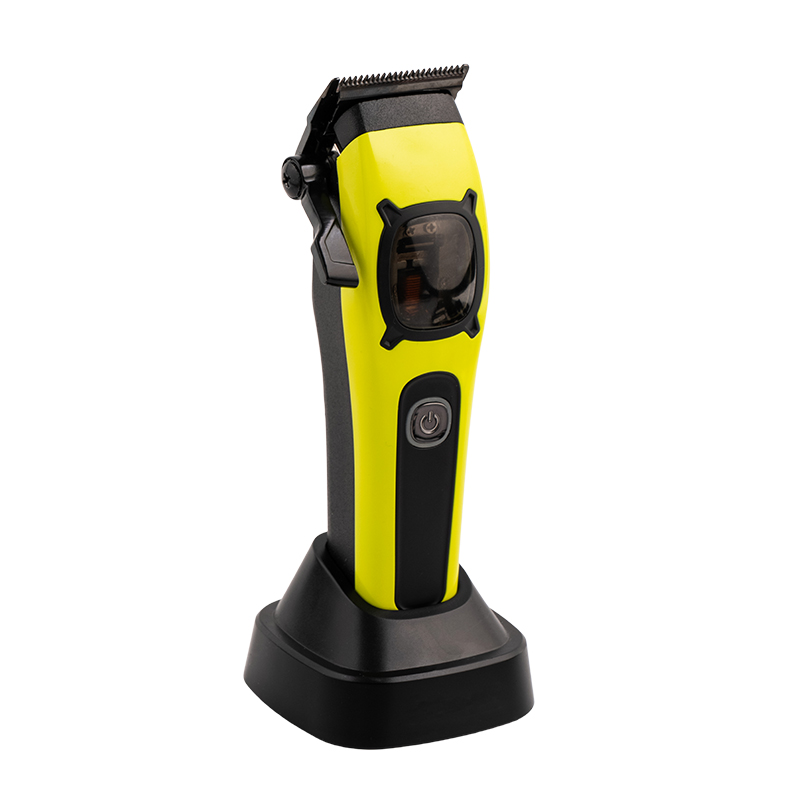 LT-761 Magnetic Levitation Motor Hair ClipperIdeal for both salons and home use, this model's stable motor and DLC-coated cutter head help maintain consistent cutting performance, complementing a regular cleaning and oiling routine.View Product →
Daily Maintenance That Keeps Blades Sharp Longer
The fastest way to postpone sharpening is good daily care. Brush hair off the blades after every session. Add one or two drops of clipper oil and run the clipper for a few seconds so the oil reaches the full mating surface. Once a week, clean the blades with an alcohol spray to dissolve oil, hair, and product residue, then re-oil. Cut clean and dry hair when possible, because styling products build up on the teeth and act like grinding paste. Do not press the clipper hard against the scalp; let the teeth feed the hair in, and the blade will stay true much longer.
These habits reduce the workload on the blade enough that many home users sharpen only once a year or less. If you are choosing a new clipper and operating noise bothers you, look at models with stable blade seating; quiet clippers for home use combine lower-vibration motors with precise blade alignment, so the blade travels evenly on its wear surface. Similarly, clippers designed for thick hair have stronger drive systems and wider tooth geometry, which means you apply less pressure and the blade wears more slowly.
Even a powerful motor will not rescue a neglected blade. A motor transmits force; the blade converts it into a clean cut. A strong outer rotor motor keeps its speed under load, which helps, but the blade still needs the same cleaning, oiling, and occasional sharpening routine described here. Match the maintenance to the amount of work, and the cutting quality stays consistent for the life of the clipper.
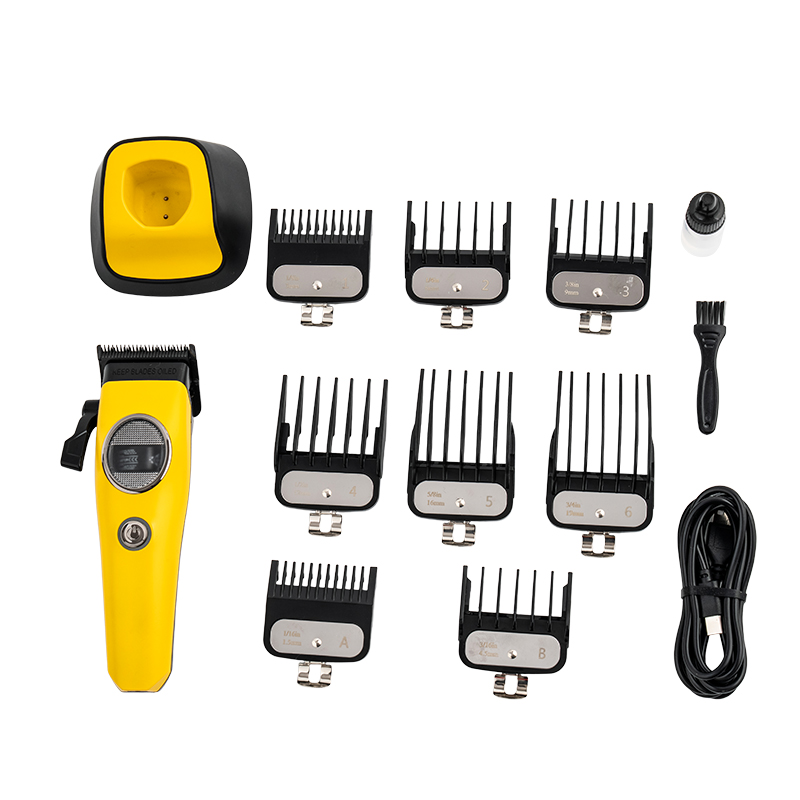 LT-714A Outer Rotor Motor Hair Clipper with DLC BladesA strong outer rotor motor keeps speed under load, while the DLC-coated cutter resists wear; this pairing suits users who cut frequently and want dependable performance with proper upkeep.View Product →
+86-574-62151741
+86-13655842900
laituo@google.com
No. 22 Liufang Road, Yuyao Industrial Park, Ningbo City, China
Copyright © Yuyao Laituo Electric Appliance Co., Ltd. All Rights Reserved
OEM/ODM Hair Removal Tool Epilator Manufacturers
